Key Takeaways
- Simple Ingredients, Big Potential: Creating your own mushroom chocolate bars requires just a few key items: quality chocolate, fully dried mushrooms, and basic kitchen tools.
- Preparation is Paramount: A fine, even grind of the mushroom material may help ensure consistent texture and distribution throughout your chocolate.
- Mastering the Melt: Gently melting and tempering your chocolate is the secret to achieving a professional-looking gloss and satisfying snap in your final product.
- Unleash Your Creativity: This guide provides a framework to customize your bars with a wide range of flavors and textures, from citrus zest and spices to nuts and puffed rice.
- Mindful Creation and Enjoyment: Always be mindful of responsible practices. User reports suggest starting with a small amount and waiting to understand the experience.
The world of functional and psychedelic edibles has seen a surge in popularity, and mushroom-infused chocolates are leading the charge. Many people are drawn to them for the way they could potentially enhance creativity or offer a unique sensory experience. If you’re curious about crafting your own custom edible chocolate bars, you’ve come to the right place. Far from a complex culinary challenge, making mushroom chocolate bars at home can be a rewarding and straightforward process.This guide from Shroom Time provides a non-technical, kitchen-safe method for your DIY journey. We’ll walk you through melting, grinding, blending, and molding without making any prescriptive claims or offering medical advice. Our focus is on the craft itself—empowering you to personalize flavors, textures, and formats. Learning this process allows you to control exactly what goes into your edibles, a cornerstone of the trust we build with our customers, which you can read about in Our Story.
Ingredients & Essential Tools
Before you begin your homemade mushroom chocolate adventure, gathering the right supplies is key. Simplicity is your friend here; you don’t need a professional chocolatier’s kitchen.
Core Ingredients:- Chocolate: High-quality dark, milk, or white chocolate chips or bars work well. Choose something you genuinely enjoy the taste of.
- Dried Mushrooms: It’s crucial that your mushrooms are completely dry (“cracker dry”) to prevent introducing moisture, which can ruin the chocolate’s texture.
- Optional Flavor Add-Ins: This is where you can get creative! Consider citrus zest (orange, lime), spices (cinnamon, chili powder), sea salt, espresso powder, or chopped nuts.
Essential Tools:- Grinder: A coffee or spice grinder is ideal for turning your dried mushrooms into a fine powder.
- Melting Apparatus: A double boiler or a microwave-safe bowl.
- Kitchen Scale: For accurately weighing your ingredients.
- Silicone Spatula: For mixing and scraping.
- Silicone Bar Molds: These make it easy to shape your bars and release them once set.
- Airtight Containers: For proper storage of your finished bars.
Step 1: Prepare the Mushrooms
The foundation of a smooth, well-integrated mushroom chocolate bar is properly prepared material. As you explore different methods, you might find that the texture of the mushroom powder significantly influences the final product.First, ensure your mushrooms are thoroughly dried. Any residual moisture can cause the chocolate to seize, turning it into a clumpy, unworkable paste. Once you’ve confirmed they are bone-dry, break them into smaller pieces and place them in your grinder.Pulse the grinder until the mushrooms become a fine, consistent powder. For an even smoother texture in your chocolate, some users prefer to sift the powder through a fine-mesh sieve. This step helps remove any larger, coarser bits, which you can discard or save for another use. A finer powder may help with more even distribution throughout the melted chocolate. For more educational content, feel free to browse our
Blog.
Step 2: The Art of Melting & Tempering
The secret to chocolate with a glossy shine and a satisfying “snap” when you break it lies in tempering. While it sounds technical, the basic concept is simple. Tempering is a process of heating and cooling chocolate to specific temperatures, which stabilizes the cocoa butter crystals. While you can skip this step, your chocolate might be softer and more prone to melting at room temperature.
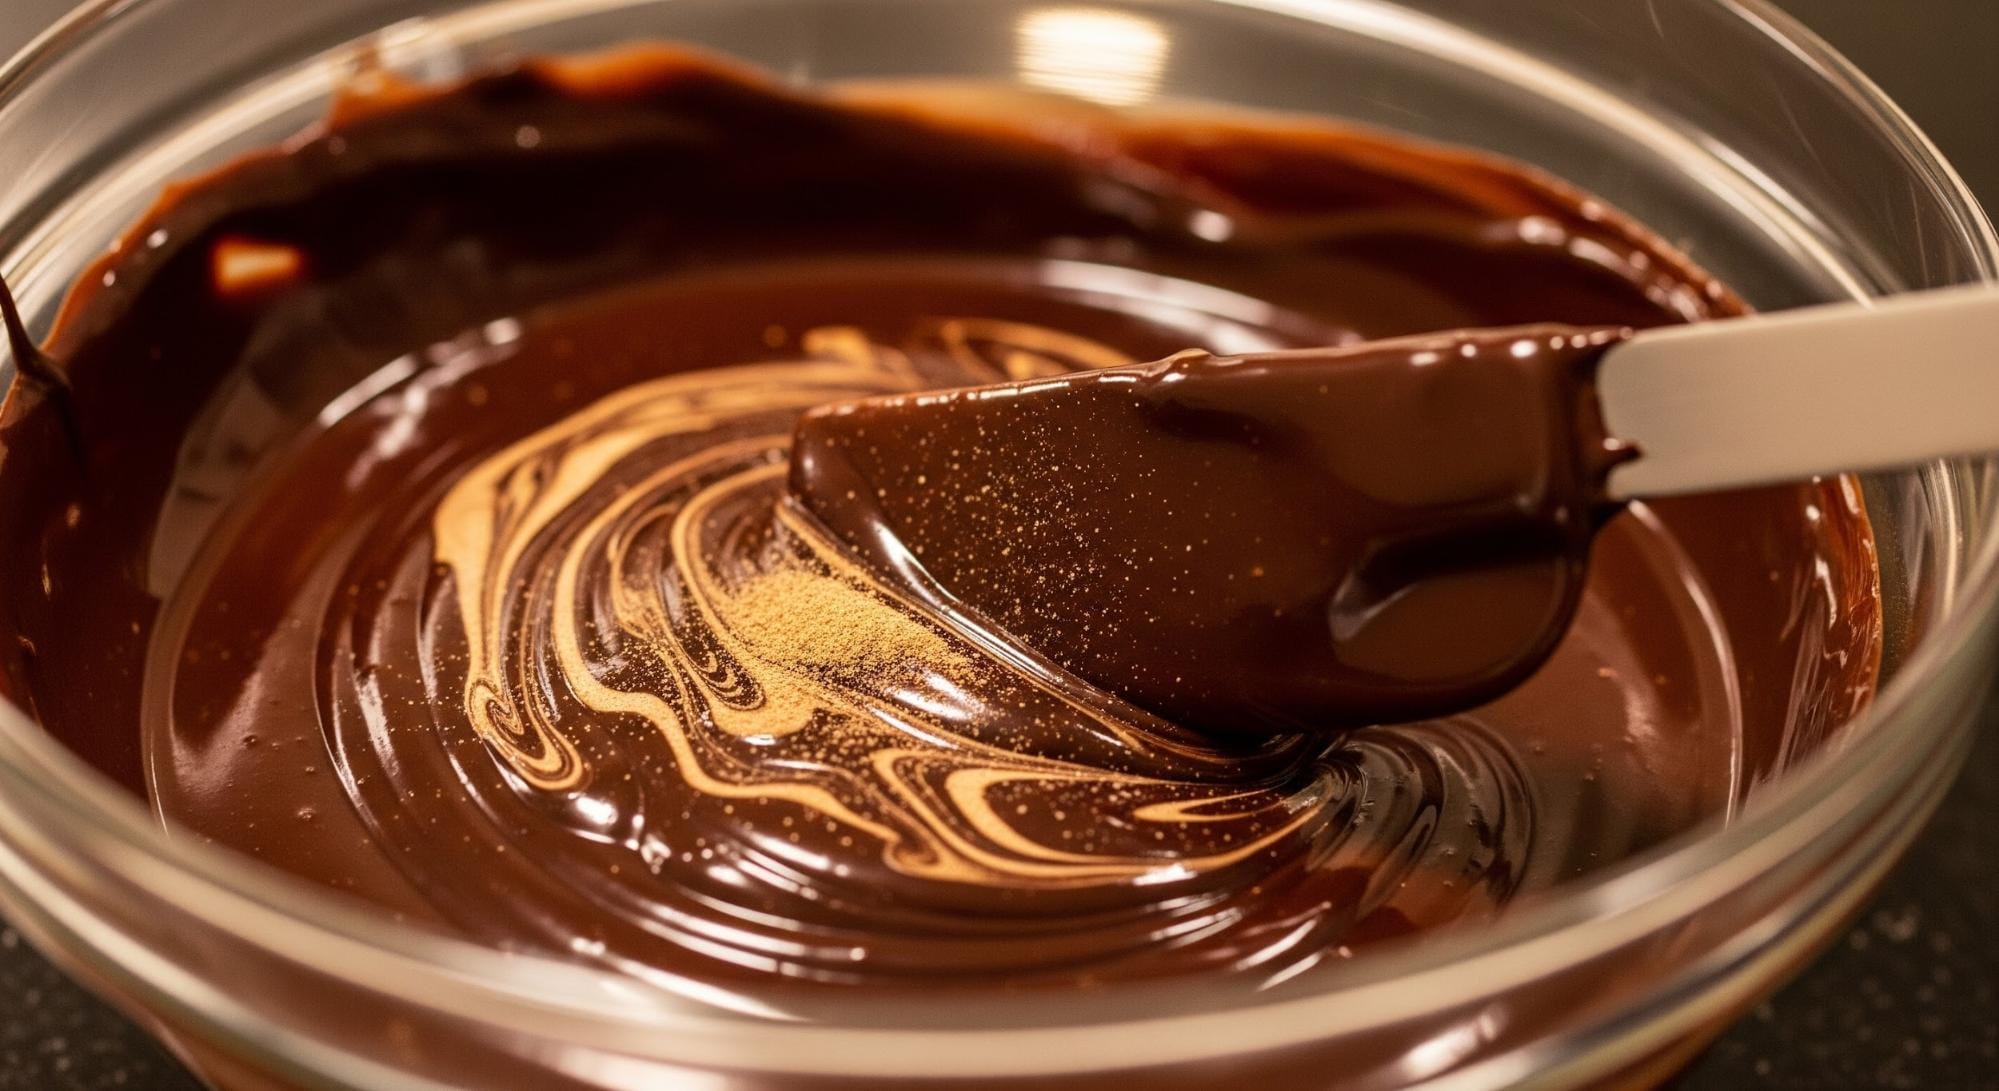
Melting Methods:- Double Boiler: Place a heat-safe bowl over a saucepan with an inch of simmering water. Add your chocolate to the bowl and stir gently until smooth. This method provides gentle, even heat.
- Microwave: Place the chocolate in a microwave-safe bowl and heat in 20-second intervals, stirring between each one. Be careful not to scorch it.
For a basic temper, many home cooks find success by melting about two-thirds of their chocolate, then removing it from the heat and stirring in the remaining one-third until it’s fully melted and smooth. While this won’t be as precise as a professional’s method, it can improve the final texture.

Step 3: Combine, Customize, and Create
Once your chocolate is melted and smooth, it’s time to bring everything together. Working relatively quickly before the chocolate begins to set, fold your finely ground mushroom powder into the bowl. Stir with your spatula until the powder is completely and evenly incorporated.This is also the perfect time to add your custom touches. The possibilities are nearly endless, allowing you to create a truly unique homemade mushroom chocolate bar.
Flavor Path Ideas:- Zesty & Salty: Add the zest of one orange and a pinch of flaky sea salt.
- Spicy & Warm: A dash of cinnamon and a hint of chili powder create a warming sensation.
- Café Inspired: Mix in a teaspoon of finely ground espresso powder for a mocha flavor.
- Textural Twists: For extra crunch, consider adding toasted nuts, puffed rice, or crushed cookie pieces.
Stir your chosen add-ins until they are evenly distributed. For those interested in the differences between consumption methods, our article on Chocolate vs. Raw: What’s the Difference offers more insight.
Step 4: Mold and Set Your Creations
With your psychedelic chocolate mixture ready, it’s time to pour it into the molds. Place your silicone bar molds on a flat, stable surface like a baking sheet, which will make them easier to transfer.Carefully pour or spoon the chocolate mixture into each cavity of the mold. Fill them to your desired thickness. Once filled, gently tap the molds on the countertop a few times. This helps release any trapped air bubbles, ensuring a smooth, solid bar.Now, patience is key. Let the chocolate bars set in a cool, dry place. Avoid the refrigerator if possible, as it can sometimes cause condensation to form on the chocolate’s surface. Setting time can vary depending on the ambient temperature and humidity, but it generally takes a few hours. The bars are ready when they are completely firm and easily pop out of the molds. If you’d rather skip the work, you can always explore our premium options, like the Tre House Chocolate Crunch Mushroom Bar.
Step 5: Proper Storage and Handling
To preserve the quality, flavor, and texture of your homemade mushroom chocolate, proper storage is essential. Chocolate’s enemies are heat, light, and humidity.Store your finished bars in an airtight container and keep them in a cool, dark, and dry place, like a pantry or cupboard. When stored correctly, they can maintain their quality for an extended period. It’s also a great practice to label your containers with the flavor profile and the date they were made. This ensures you always know what you have on hand. The quality of ingredients matters, which is why we’re transparent about Our Manufacturer and provide full Lab Test Results for all our products.
Responsible Use and Important Considerations
When exploring homemade edibles, mindfulness is crucial. The experience from psychotropic mushrooms can vary greatly from person to person and depends on the ingestion method. Many users report that they prefer to start with a very small amount, especially when trying a new batch. It’s often suggested to wait a considerable amount of time to fully assess the experience before considering having more.It is also vital to be aware of and comply with all local laws and regulations. For more information, you can review our Legal Information and
FAQ pages.
Your Culinary Canvas Awaits
You now have a complete, customizable framework for making your own mushroom chocolate bars at home. This process empowers you to experiment with different chocolates, flavors, and textures, creating a product that is uniquely yours. Whether you’re crafting a classic dark chocolate bar or a spicy, nutty creation, the key is to enjoy the process. For those times when you’d rather leave it to the experts, you can always explore our curated collection in our
shop.Ready to explore the possibilities or have a question about our curated selections? Our team is
just a call away.